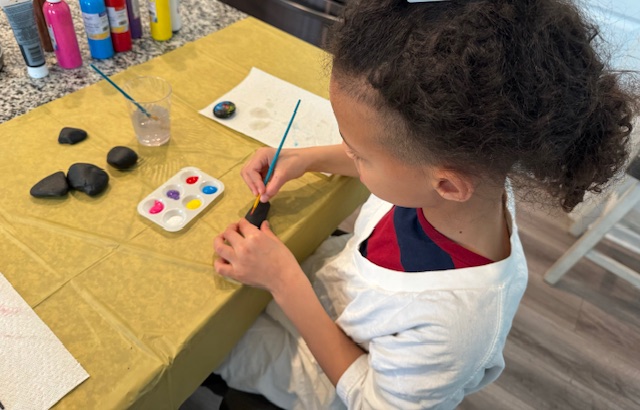
It is said, trying new things actively rewires your brain cells. It is healthy for us. I decided to try something I haven’t done before. When I arrived at the art class the first thing I read in the info pack was, “you don’t have to be the best (or even good) to enjoy doing something”. So, I was hopeful I would enjoy my new adventure, along with rewiring some brain cells!
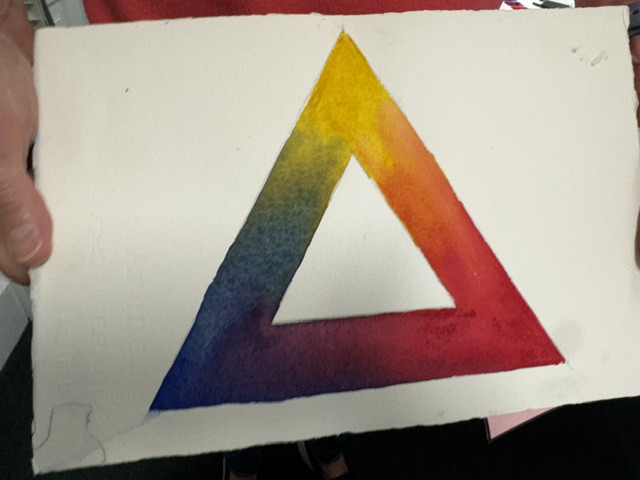
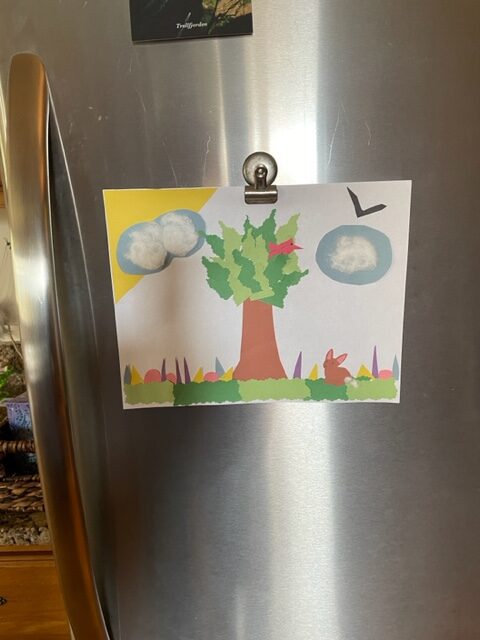
I took a beginner’s watercolor class. We have bought several watercolor paintings from a local artist in town and when she offered a beginner’s watercolor class I thought “why not?” Actually, she started classes a few years ago, but the dates never worked out for me until this year, so I was excited to finally get to try this new endeavor.
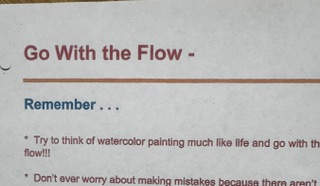
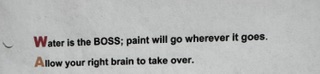
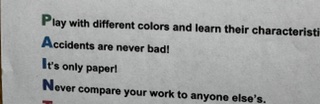
A few things stood out from the instructions, for instance: relax and let it flow (water is boss anyways), don’t compare your work with others, and it’s only paper. That became my mantra because I felt I could try this technique and if it doesn’t work out it’s not a huge investment…it’s only paper…I can try to correct a mistake or throw the whole thing out and start over because it’s only paper, and I can experiment a lot since it’s only paper.
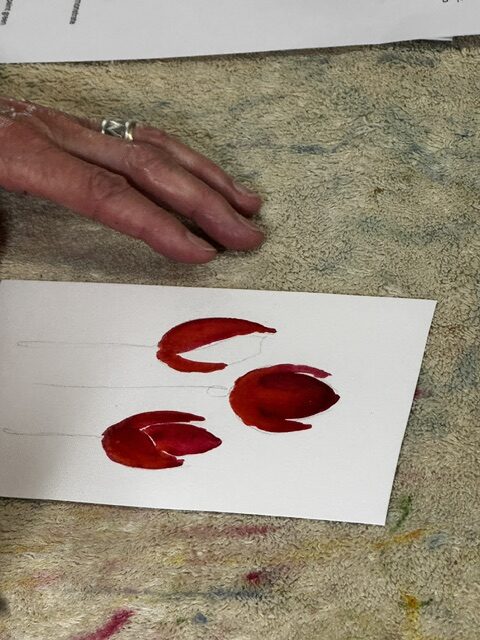
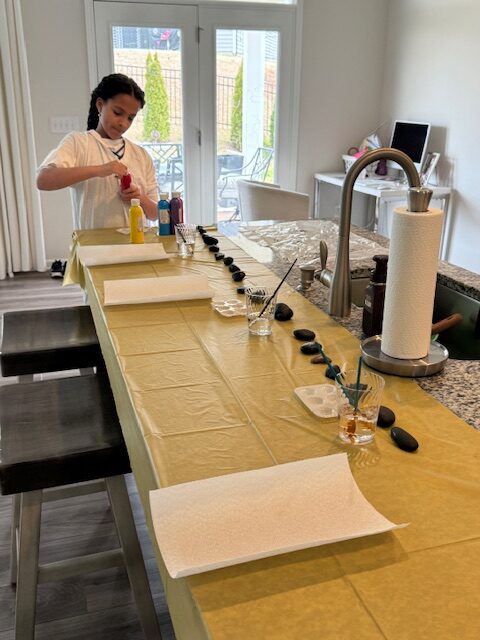
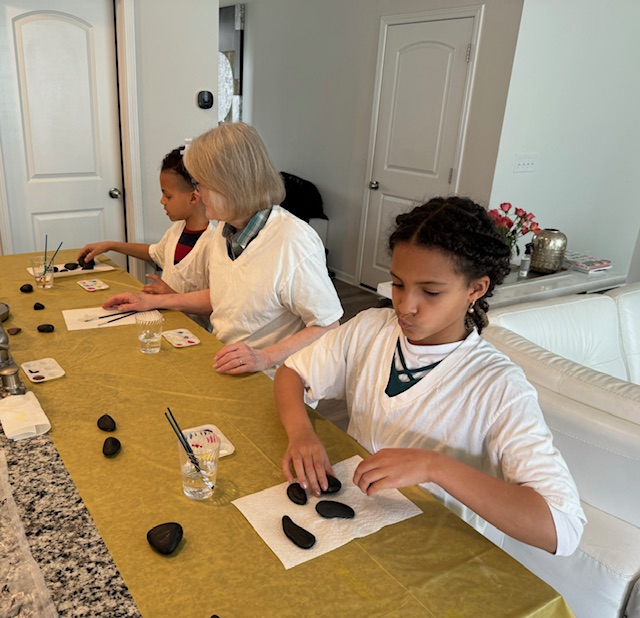
I didn’t know what to expect from this class. It was very interesting and I feel I learned a lot (one thing I learned is I have to practice! ha). Kathy told us a student from a previous beginner’s class had expectations of taking home a piece for above her mantle. I didn’t have that kind of expectation; I didn’t even bring home a completed greeting card.
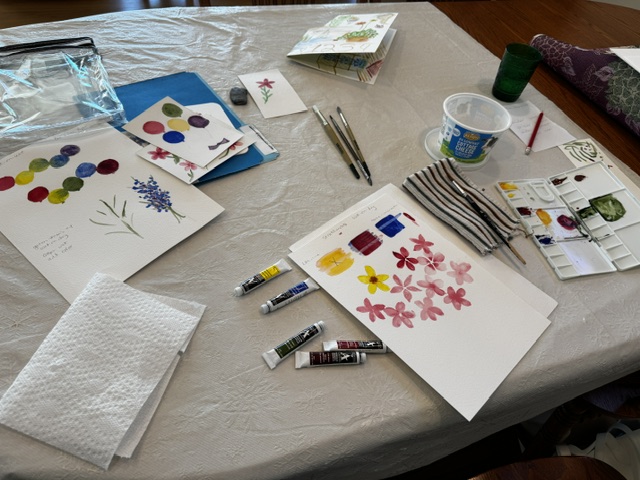
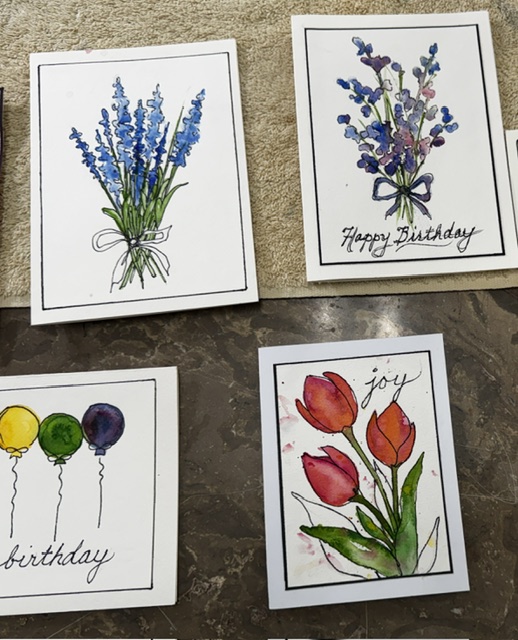
The hours flew by. There were six of us in the class. I learned where to begin with watercolors and that is enough. I now need to practice…which is always the tricky part (out of sight, out of mind) …but I have had one practice session and I plan to practice more. My goal is to make some greeting cards that look nice enough to send out.
I hope my brain cooperated and rewired some cells because of this new adventure. I can say, I did enjoy myself very much, even though I’m not very good at it.


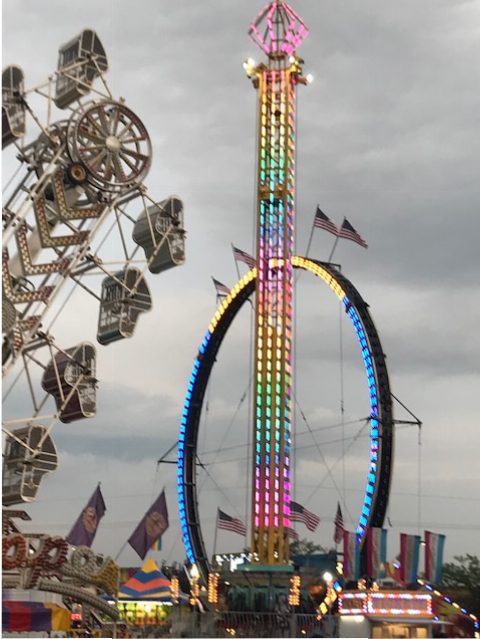
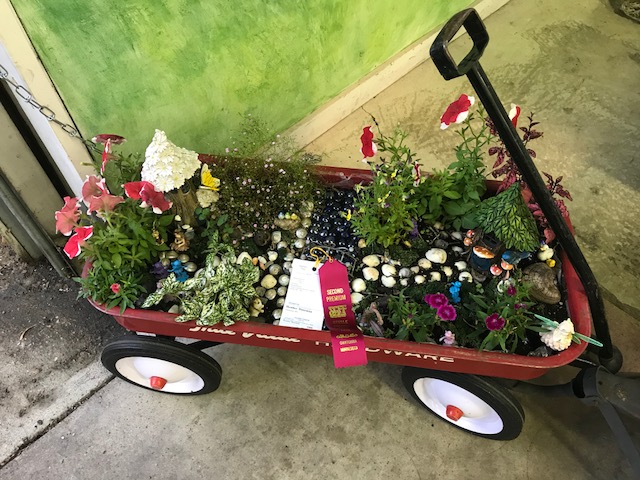
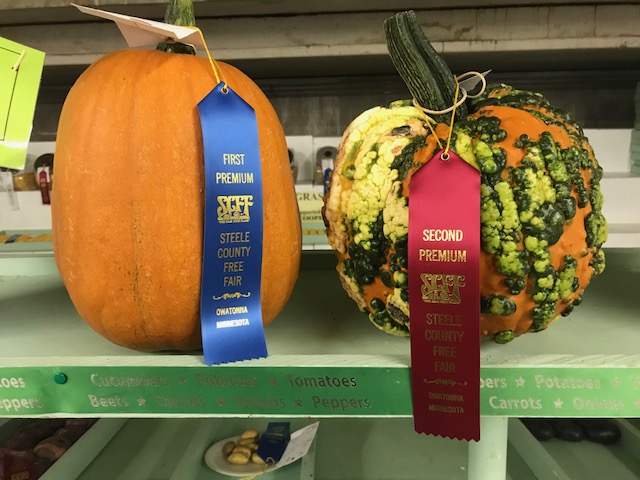
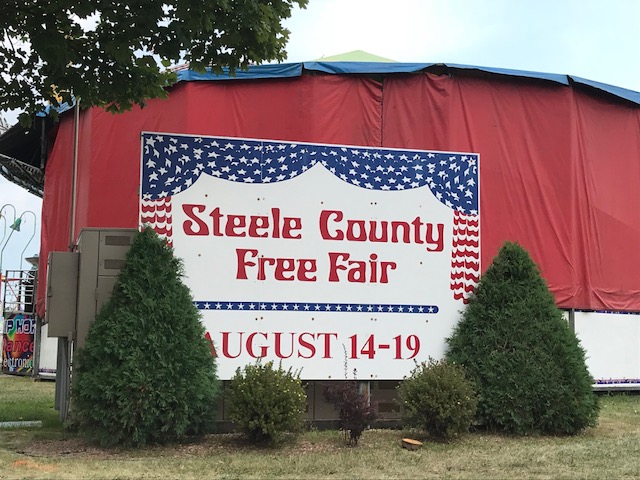 Even though I’m not much of a fair-goer (because of the crowds) we heard about the Steele County Free Fair in Owatonna so we decided to check it out. When our sons were young we would go to the Dakota County fair – it was a nice size. And we did go to the Minnesota State Fair a couple of times for the experience of a big state fair.