Several years ago I found a painting of red geraniums on a framed, window screen in a thrift store. I thought it was a clever idea and it would look good on our front porch, so I bought it. It has hung on our front porch many times over several summers, and it started to lose its pizazz.
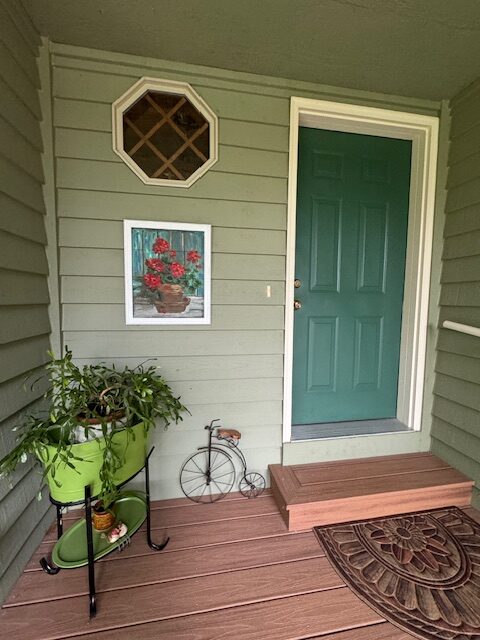
Instead of throwing it out I decided to try touching it up myself, with my acrylic paints.

I put on an old t-shirt, squeezed paint onto a paint palette, and did my best. I filled in the reds, and mixed red and yellow paint for orange, and blue and yellow for green, and repainted the pot and added a bit of color here, and a bit there. It was a fun, creative endeavor!

And I think it turned out very well. The painting has found new life and is hanging on my front porch once again.